This radio had a lot of significant problems when I received it. A picture of the radio as I received it is shown below.
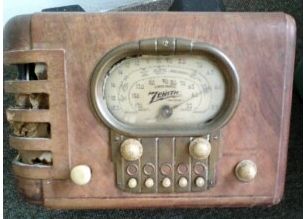
The most noticable problems was that one of the ribs on the right where the speaker is was broken and part of it was missing. The speaker grill cloth was also mostly missing. These two issues suggested the speaker cone could be damaged and that proved to be true. The radio also has one wrong knob - the one on the far left for volume. The other three knobs are original. These knobs are the Zenith "ivory" colored knobs with the Zenith lightning bolt on the front. Original knobs of this types are impossible to obtain, but you can buy reproductions, but the color of the reproductions are not a good match to the originals because the originals have yellowed with age.
Other problems with the radio were:
Speaker punctured in several places
One missing tube
Dial cord broken, but the dial cord spring was present
Cut off power cord
Poor replacement of the filter capacitors (done long ago)
The circuit contact board for the automatic station presets was warped.
The picture below shows the cabinet after removal of the chassis.
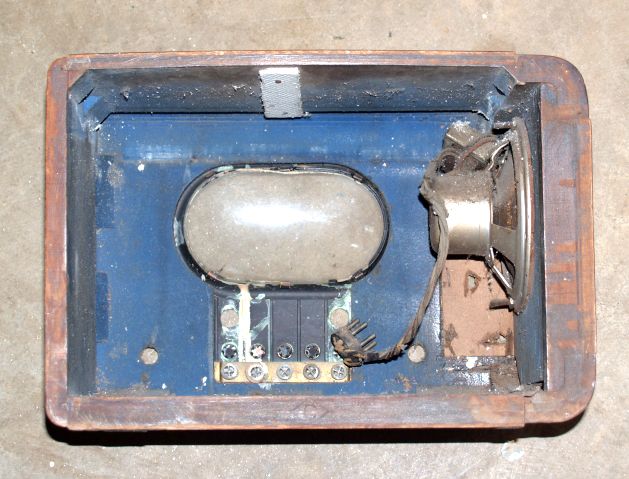
Stapled to the inside top of the cabinet was an asbestos sheet to prevent heat from the tubes damaging the cabinet. This asbestos sheet is shown below.
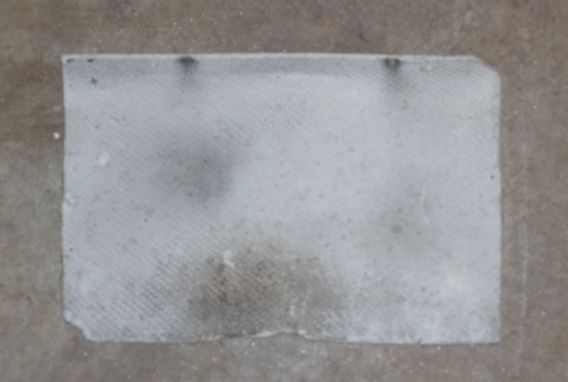
I discarded the asbestos sheet.
The pictures below shows the top and bottom of the chassis as received. Note the missing tube on the top right of the top of the chassis.
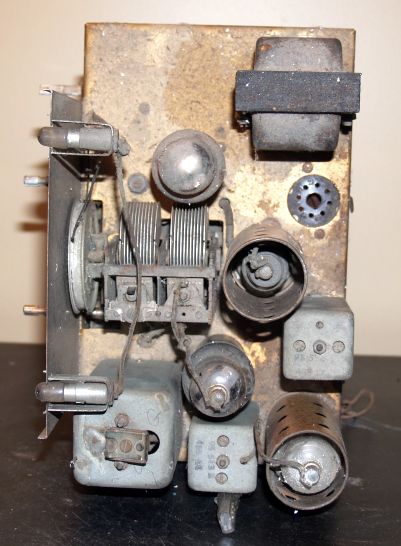
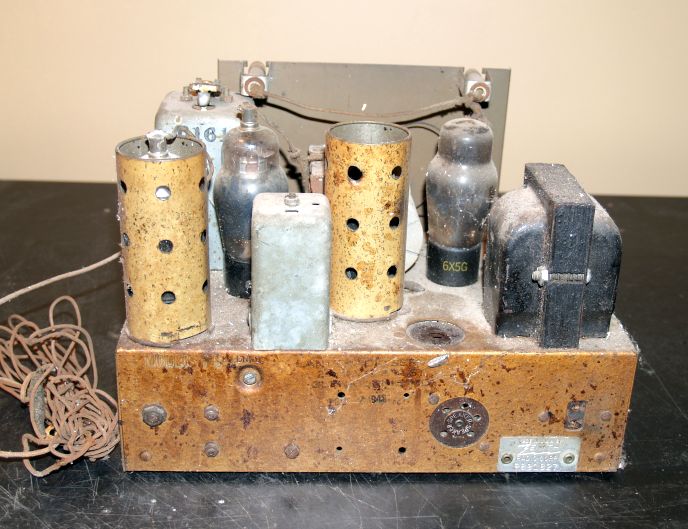
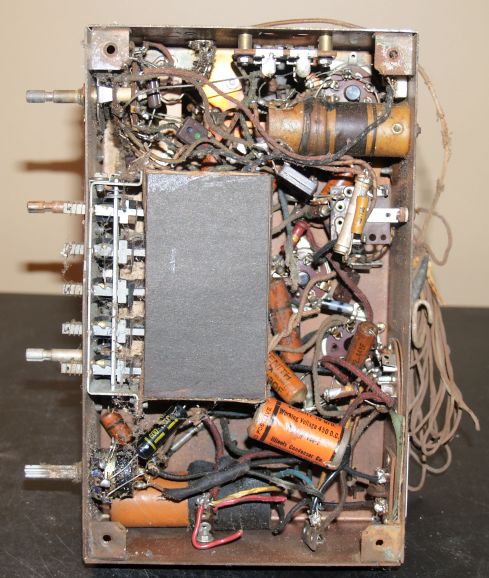
Note the old filter capacitor at the bottom center of the chassis in the picture above. The capacitor was not secured to anything and was left floating. This could be a safety hazard.
The picture below shows the speaker after I repaired it.
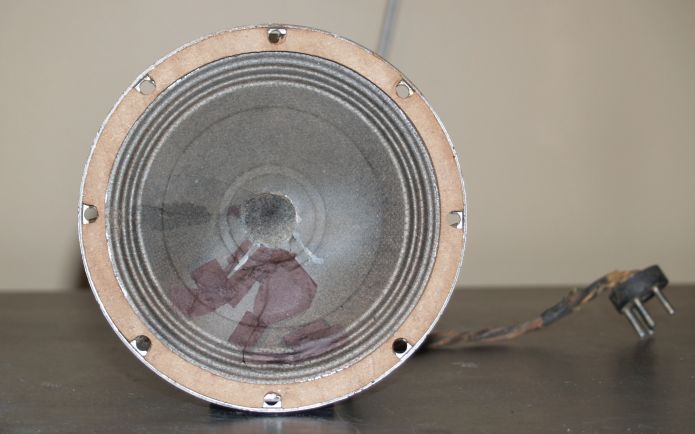
I used black tissue paper to repair the numerous holes in the paper cone. This tissue paper can be seen as the black strips on the cone in the picture above. To repair a hole, I cut the tissue paper to the proper size and soaked it in white glue diluted with water. Then I placed the tissue paper over the hole. Now this took some time as I had to let one application of tissue paper dry in place before applying another. It took several applications to cover some of the larger holes. After completing this process, the speaker sounds as good as new. The voice coil and field coil were good, so I did not have to repair these.
The picture below shows the bottom of the chassis after I replaced the filter capacitors.
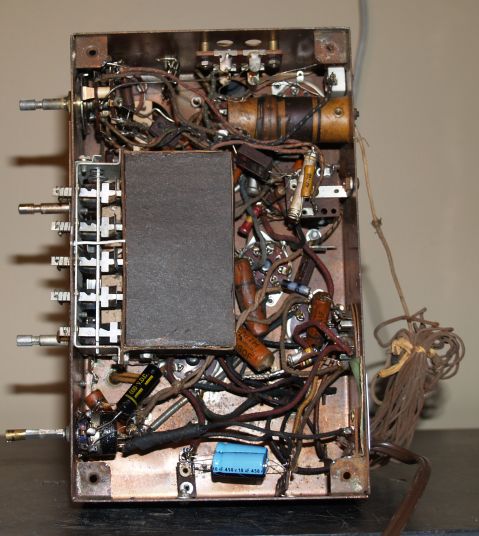
You can see the blue replacement capacitors at the bottom of the chassis.
To repair the warped automatic circuit contact board, I wrapped a wire around the board and it frame to pull it straight. This board has many thin wires attached to it such that it would be difficult to replace. This method appears to work fine. You can see this white wire in the left center of the chassis in the picture above.
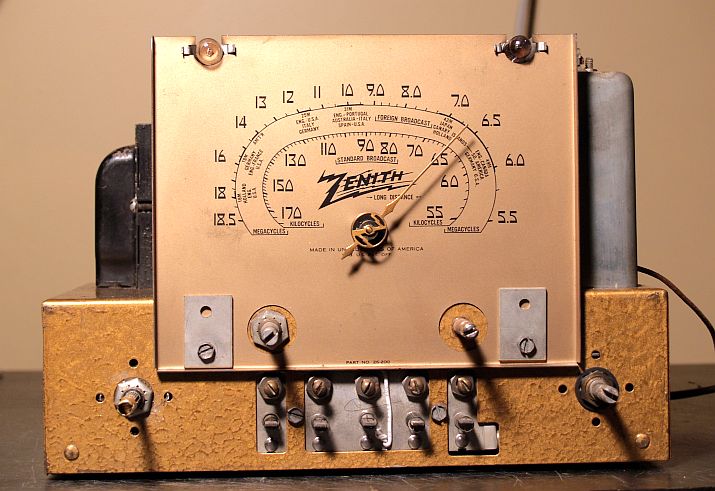
Below is a picture of the front of the chassis. You can see this white wire in the lower center of the chassis.
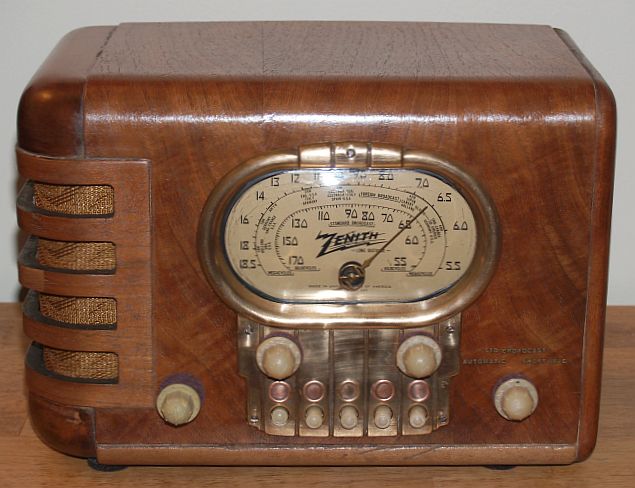
After all of this repair, the radio works well on both AM Broadcast and Shortwave. All of the presets work, too.
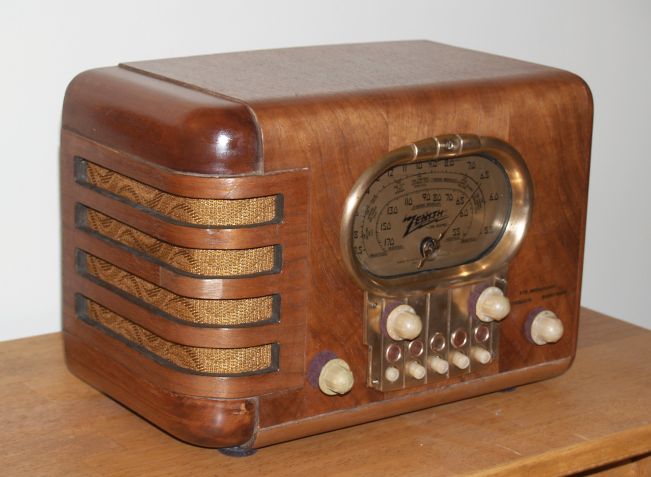
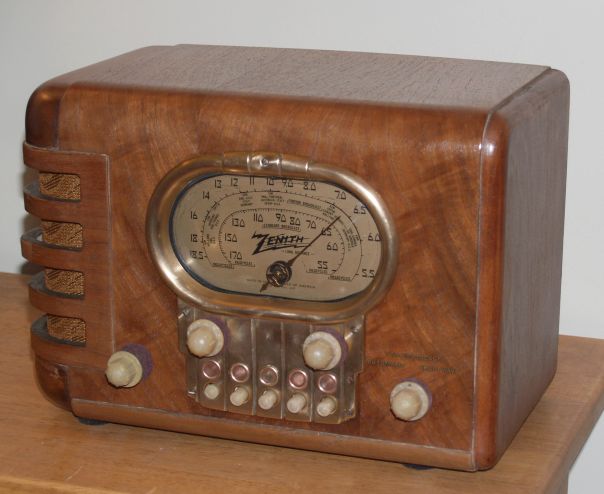
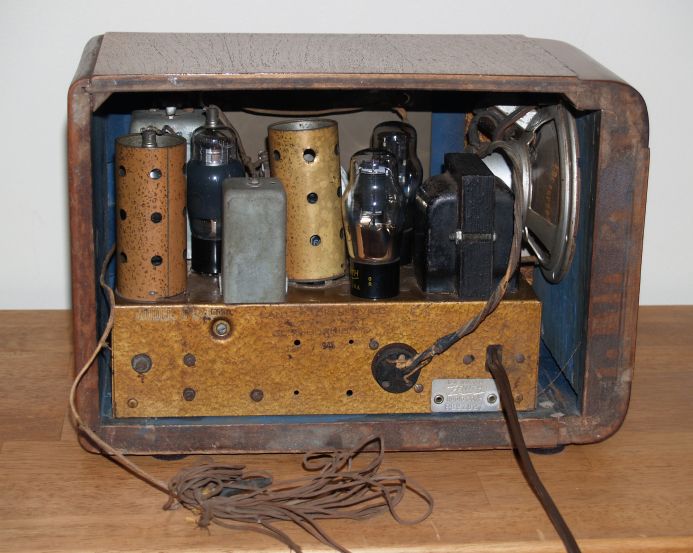
Below is a picture of the back of the radio after repair.
The picture below shows the speaker side of the radio. You can see where I repaired the rib. I could not precisely match the veneer type with the original. The replacement grill cloth is a close match, however.
I painted the top and bottom sides of the ribs with black ebony stain. I stained the parts above and below the speaker ribs and the other side with an oak stain. I stained the rest of the cabinet with a natural stain. I finished the cabinet with tongue two coats of low gloss tongue oil. I cleaned the brass escutcheon with Brasso. I replaced the 3 decals above the far right knob with reproductions. I found a reproduction knob for the far-left knob. I painted the reproduction knob with dark yellow model paint to match the originals as close as possible. I replaced the felt behind all of the four knobs.